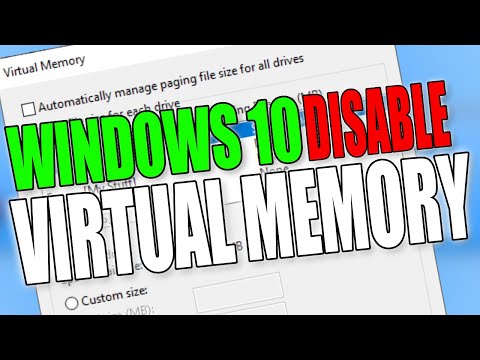
In this Windows 10 tutorial, I'll show you how to disable your PC or laptop's virtual memory, also known as a paging file. If you are trying to shrink a hard drive but are unable to do so because you cannot shrink a volume past the point where the immovable files are located, disabling virtual memory will usually resolve this problem. Then, once you've shrunk the drive, you can re-enable virtual memory. Or if you have a problem with a program and it asks you to disable the paging file, here's how to do it.
For step by step tutorials, or if you want to request tutorials or need help with your PC, check out our website here: Computersluggish.com
Follow us:
Facebook – @computersluggish
Twitter – @computerslug
Instagram – @computersluggishtutorials
CS Plus YouTube: https://www.youtube.com/computersluggishplus
This Windows tutorial will work with all Lenovo, HP, Dell, Acer, Asus, Samsung, Toshiba desktops and laptops using Windows 10 Home, Pro, and Enterprise. If you would like me to provide a Windows tutorial, please feel free to contact me.
#windows10
#virtualmemory
#swapfile
Please take the opportunity to connect and share this video with your friends and family if you find it useful.
No Comments