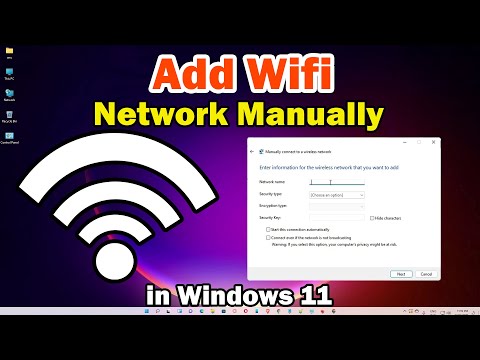
First, we'll walk you through the steps to manually add a WiFi network using the Settings app in Windows 11. Next, we'll show you how to add a hidden network that doesn't broadcast its name.
By following the simple steps in this tutorial, you will be able to manually connect to any WiFi network on your Windows 11 PC or laptop. This will ensure that you can stay connected to the Internet, even when your device fails to automatically detect a network.
So, if you're having trouble connecting to a WiFi network on your Windows 11 device, or just want to know how to add a network manually, this video is for you. Follow us and learn how to stay connected, wherever you are.
Please take the opportunity to connect and share this video with your friends and family if you find it useful.
No Comments