See more of Max's videos here: https://www.youtube.com/c/MaxDalton
Video transcription:
Your Apple ID is the key that connects you to the growing universe of Apple services. This includes Apple Music, the App Store, iTunes, iCloud, Apple Pay, etc. You can change the Apple ID associated with an iPhone, iPad, or iPod Touch, if necessary. Some reasons you may want to change the Apple ID associated with a device include giving a device to a friend or family member, switching to another Apple ID for software testing purposes , or you created a new Apple ID and just want to change it. use it. It's important to note that when you change your Apple ID, you will no longer be able to access content purchased with the previous Apple ID.
And now, let's go through the steps to change the Apple ID associated with your Apple iPhone, iPad or iPod Touch.
Step 1. Tap to launch the /"Settings/" app. You will land on the Settings screen.
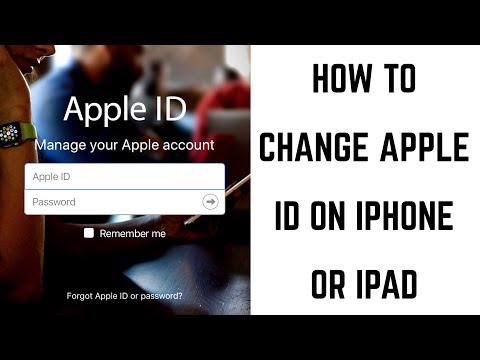
Step 2. Tap the line at the top of the Settings screen that includes your name and profile picture. The Apple ID screen appears.
Step 3. Scroll to the bottom of the Apple ID screen, then tap the red text / “Sign Out /”. The Apple ID Password screen appears.
Step 4. Enter the password associated with the Apple ID currently on your device in the Password field of the Apple ID Password dialog box, and then tap /“Turn Off/” to turn off Find My iPhone or iPad if enabled. A Keep a copy of your data on this iPhone or iPad screen appears, asking if you want to keep a copy of the information associated with the apps listed on your device and informing you that any data deleted from this device will still be available in iCloud. . Continuing means that all information on this device stored in iCloud will be deleted from this device, and all your Apple Pay information will also be deleted from this device.
Step 5. Tap /"Sign out/" in the upper right corner to continue. An Are You Sure dialog box appears. Tap the red option / “Sign out /” in the dialog box. A white screen appears simply saying "Copying iCloud data." How long this screen lasts will depend on the amount of data to be copied. Once the copy is complete, you will return to the Settings screen, where you will notice that there are no accounts connected to your device at the top of the screen.
Step 6. Tap / “Sign in to your iPhone or iPad /” at the top of the screen, where your name and profile picture were previously. The Apple ID screen appears.
Step 7. Enter the email address associated with the Apple ID you want to use on this iPhone or iPad. The Password field appears on the Apple ID screen just below where you entered the email address.
Step 8. Enter the password associated with the Apple ID you just entered the email address for, and then tap "Next/" at the top right corner of the screen. An iCloud login screen will appear briefly before a terms and conditions screen appears.
Step 9. Tap the blue /“Accept/” button at the bottom right corner of the Terms and Conditions screen. A dialog box appears asking you again if you agree to the terms and conditions. Tap /“Accept/” in the dialog box again. The iCloud sign-in screen appears again. A menu will appear from the bottom of the screen, informing you that your calendars, Safari data, News app data, reminders, and contacts will be downloaded and merged with iCloud. Choose whether or not to merge the data. You will be returned to the Settings screen, where you will see the name and profile photo associated with your new Apple ID displayed at the top of the screen.
Step 10. Sign out of your Apple ID on all other Apple devices associated with that Apple ID, then sign in again using your new Apple ID username.
Please take the opportunity to connect and share this video with your friends and family if you find it useful.
No Comments