The software you will need to download is winmerge, from ninite.com.
Once the program is installed, run it and click on the folder icon at the top.
It will ask for right and left file/folder. Tap Browse on the left, then choose the folder you want to compare. Then tap Browse on the right and choose the second file/folder.
After selecting the file, choose include subfolders at the bottom, then press OK on the right. Depending on the number of files and their size, the comparison may take a little time.
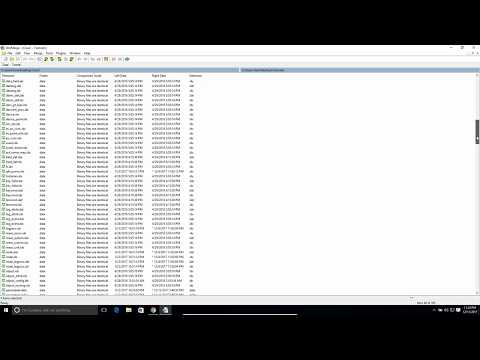
Once done, you will see a list of all the files in the folder you chose to compare. If the files are text and readable, then winmerge will tell you if the files are the same or not, and if they are different you can double-click the file and view the differences.
You can also see if the files only exist in one of the folders, as the file will be listed only on the left or right.
Check out my Facebook at: https://www.facebook.com/pages/All-How-2s/198429346974010
or my twitter: https://twitter.com/AllHow2s
Or my website where I have lots of other great tutorials (like how to take a screenshot or how to get the Start button back in Windows 8): http://www.allhow2s.com
Please take the opportunity to connect and share this video with your friends and family if you find it useful.
No Comments