Description:
TPM is a security hardware component that provides encryption and helps secure various sensitive data, including encryption keys, passwords, and certificates. Windows 11 requires TPM 2.0 to be enabled on the device for installation.
Enabling TPM on an HP laptop:
Check if TPM is supported: First of all, make sure your HP laptop supports TPM. Most modern HP laptops have a TPM built into the motherboard, but it's best to check before proceeding.
Accessing BIOS/UEFI Settings: To enable TPM, you will need to access the laptop's BIOS (or UEFI) settings. Turn off your laptop if it's on, then turn it back on. During boot, press the appropriate key several times to access BIOS/UEFI settings. The key to access these settings is usually displayed on the screen during the boot process. It is often one of the following: F1, F2, F10, F12, ESC or DEL.
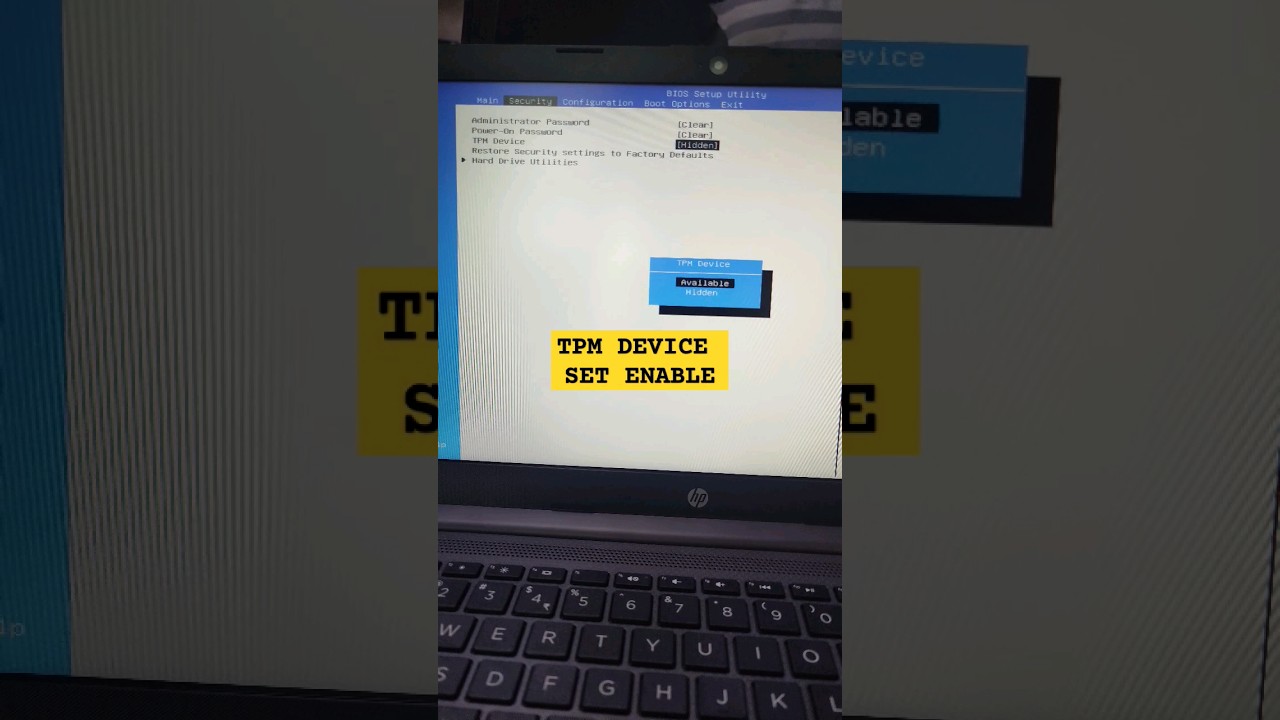
Locate the TPM settings: Once in the BIOS/UEFI settings, navigate through the options using the arrow keys and look for the /"Security/" or /"Advanced/" section.
Enable TPM: In the /"Security/" or /"Advanced/" section, look for the /"TPM/" or /"Trusted Platform Module/" setting. It may be listed in a submenu or in an advanced settings section.
Enabling TPM: Set the TPM option to /"Enabled/" or /"Activated./" Some BIOS versions may have different wording or options, but the idea is to enable TPM.
Save changes and exit: After enabling TPM, save changes in BIOS/UEFI settings and exit setup. Usually you can do this by pressing the appropriate key (usually F10) or by following the on-screen instructions.
Installing Windows 11: With TPM enabled, you should be able to continue with the Windows 11 installation process. Follow the on-screen instructions to install Windows 11 on your HP laptop.
Note: If you encounter any problems during the process or cannot find the TPM setting in BIOS/UEFI settings, check your laptop's user manual or visit the HP support website for guidance specific to the model. Additionally, it's always a good idea to update your laptop's BIOS to the latest version before installing Windows 11, as newer BIOS updates may include better TPM support and other improvements.
Please take the opportunity to connect and share this video with your friends and family if you find it useful.
No Comments