How to take a screenshot in Windows 11 #tutorial
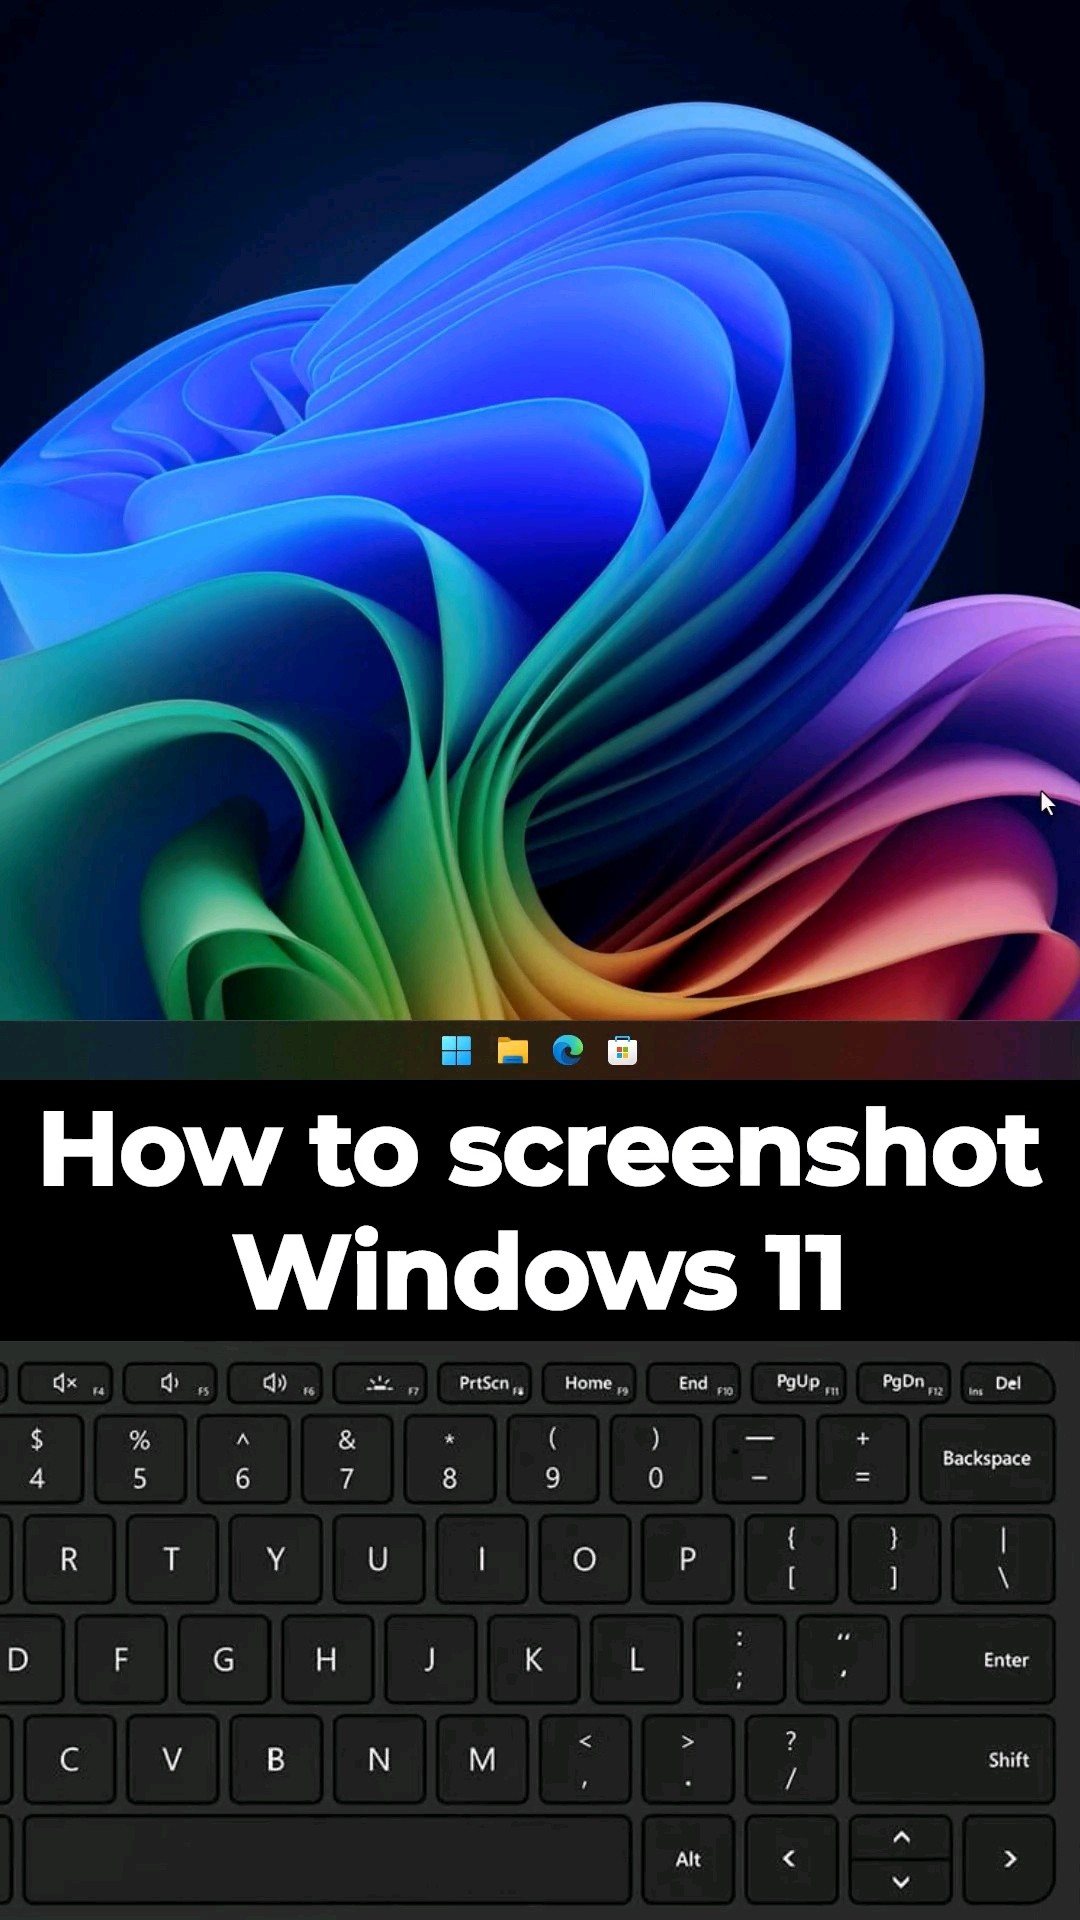
The Print Screen key in Windows 11 has changed. Now if you press the /"Prt Scn/" key, what does it
what I will do is open the snipping tool. So if you actually want to do a print screen like you would have done in the past using the print screen key, you need to press [Windows][Print Scn] and your screen will flash. Or you can press FnWindowsSpace (press and hold Function, then Windows key, then Space, then release all keys) and this also works in place of a Print Screen key if your keyboard doesn't have one not. You can, if you wish, change the functionality of this print screen key to not open the snipping tool. Go to settings, find Print Screen, then select it, and at the bottom you will see that there is a Use Print Screen button to open the screenshot. And when you disable this, the print screen key will no longer open the snipping tool. And the place where the print screens will be saved is in the Screenshots folder. So you can see here that all my print screens are saved in the folder as expected.
what I will do is open the snipping tool. So if you actually want to do a print screen like you would have done in the past using the print screen key, you need to press [Windows][Print Scn] and your screen will flash. Or you can press FnWindowsSpace (press and hold Function, then Windows key, then Space, then release all keys) and this also works in place of a Print Screen key if your keyboard doesn't have one not. You can, if you wish, change the functionality of this print screen key to not open the snipping tool. Go to settings, find Print Screen, then select it, and at the bottom you will see that there is a Use Print Screen button to open the screenshot. And when you disable this, the print screen key will no longer open the snipping tool. And the place where the print screens will be saved is in the Screenshots folder. So you can see here that all my print screens are saved in the folder as expected.
This is a tutorial for manually taking screenshots and not how Windows Recall on Copilot PCs takes or stores the snapshots used for this process.
#windows11 #techtips #tutorial
Please take the opportunity to connect and share this video with your friends and family if you find it useful.
No Comments