Shutter – Installing and Using the Best Screenshot App on Ubuntu 20.04 LTS (2020)!
In this video I will show how to install Shutter Screenshot app on Ubuntu 20.04 LTS and give a brief overview of its features. It is one of the best screenshot apps available on the Ubuntu/Linux platform.
Steps to install Shutter screenshot app:
1. Open /"Show applications/" on your taskbar or Ubuntu Dock.
2. Search for Ubuntu Software Center and open it.
3. Find Shutter and select it.
4. Click the Install button, then enter the system user's operating system password and tap Authenticate.
5. The shutter will take approximately 2 minutes to complete.
6. Once finished, open the Shutter screenshot app from /"Show apps/" on the Ubuntu Dock or taskbar.
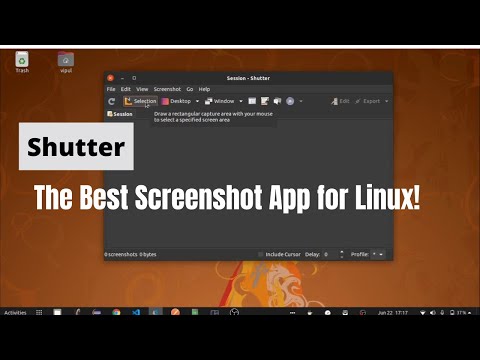
Using the Shutter screenshot app:
1. In the shutter menu bar, you can choose to take a screenshot of a particular area of your screen or the entire desktop, a menu or a tooltip.
2. Once the screenshot is taken, you can also edit it with many useful tools.
If you like this video, don't forget to like and subscribe to this channel:
Youtube link: https://www.youtube.com/channel/UC7ULpTYs1SjPA7vBqJQFtqA
Please take the opportunity to connect and share this video with your friends and family if you find it useful.
No Comments