Steps involved:
Step 1: Launch PowerShell as Administrator
First, we need to open PowerShell with administrative privileges. Right-click the Start menu, then select /"Windows PowerShell (Admin)/" or /"Windows Terminal (Admin)/" depending on your system.
Step 2: Run Unblock Commands
We will now run PowerShell commands to remove default applications. These commands target unnecessary pre-installed applications, freeing up valuable system resources and improving performance.
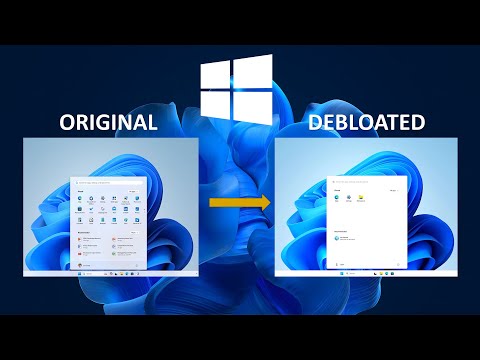
Step 3: Check the unboxing results
Optionally, you can check the removal of default apps.
Step 4: Restart your system
After completing the unblocking process, it is recommended to restart your system to apply the changes effectively. This ensures optimal performance and stability.
Step 5: Enjoy a simplified Windows experience
With unnecessary default apps removed, you can now enjoy a clean Windows environment with improved speed and responsiveness.
Now Windows is unlocked.
Key moments.
00:00 Introduction.
00:11 What is bloatware?
00:42 Why Bloatware is a threat?
01:03 How to detect Bloatware?
01:46 How to remove bloatware?
02:42 Start the installation with minimal Bloatware installed.
03:12 Log in to Windows.
03:34 Check all installed apps on Debloat.
04:00 List all applications installed with Powershell.
04:11 Delete an application package.
04:42 Get the script from GitHub.
04:58 Demonstrate Debloating by running the PowerShell script.
05:41 Check the results. Windows unlocked.
05:50 Exit.
Powershell script from ITSuperhero GitHub: https://github.com/it-superhero/Powershell
Powershell commands:
List all applications installed with Powershell: Get-AppxPackage Select-Object Name, PackageFullName
Remove an installed application: Remove-AppxPackage -Package /"PackageFullName/"
*Remember. Change the PackageFullName to the real application PackageFullName.
Powershell execution policies:
Enable script execution: Set-ExecutionPolicy Unrestricted
Disable script execution: Set-ExecutionPolicy Default
Subscribe to ITSuperhero: https://www.youtube.com/channel/UCqJCWIA74sKuK9-r03Up6kA
Do you like this channel? Help us create more and better videos for you: https://www.buymeacoffee.com/ntheoyith
Please take the opportunity to connect and share this video with your friends and family if you find it useful.
No Comments